Set up a React App With Typescript in 5 Minutes
Learn to use Vite to set up a modern front-end application with React and recommended tools.


There are many ways to set up a new React app:
- create-react-app has been the standard way to quickly start up a new React project, but it's starting to show its age;
- nearly all React frameworks have a starter template, but you might not need or want to use a framework;
- starter-kits are a popular option, but they're opinionated and add a lot of boilerplate and features, which is not ideal if you want to start minimally.
Vite is a bundle of tools that help you develop your frontend apps, which includes a development server with hot module replacement, and a build toolchain with plugin support.
Vite uses native ES modules so it's extremely fast.
Using Vite to set up a React project
Starting a new project with Vite is as simple as running npm create vite@latest with your project name and preferred starter template.
Here's how to start a new React project with TypeScript named my-first-app:
npm create vite@latest my-first-app -- --template react-tsThis command will create a new folder with your React app, so navigate into it and install dependencies:
cd my-first-app
npm install
However, there are a couple of extra steps you should take to make your environment ready for development.
1) Set up ESLint
ESLint will help you catch small errors such as undeclared variables. It also lets you enforce good practices, such as providing a complete dependency list for certain React hooks like useEffect or useMemo.
To install ESLint in your Vite project run:
npm install -D eslint eslint-config-react-appThis command also installs the eslint-config-react-app which is the same exact configuration create-react-app uses. Extend it by creating a .eslintrc file in the root of the project folder with this code:
{
"extends": "react-app"
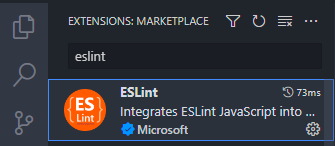
}Finally, make sure ESLint is picked up by your IDE, if you use VSCode, you will need to install an extension.
2) Set up Prettier
Prettier automatically formats your code so you don't need to waste your time debating spaces over tabs or aligning indentations. It's especially critical in making code formatting consistent when you work with others.
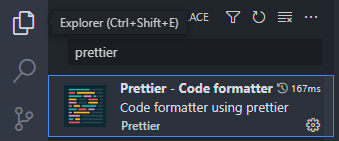
First, install the VSCode extension (or whatever your IDE is).
It will use the default configuration which is good for most people, but if you want to override with your own rules, create a .prettierrc file and provide your rules there.
Then, configure VSCode to auto-format on save and use Prettier as the default formatter:


3) Remove unnecessary files
The Vite template comes with a simple demo app, but you might want to start fresh:
- Remove the assets folder and
App.css - Remove everything inside
index.css - Remove everything inside
App.tsx
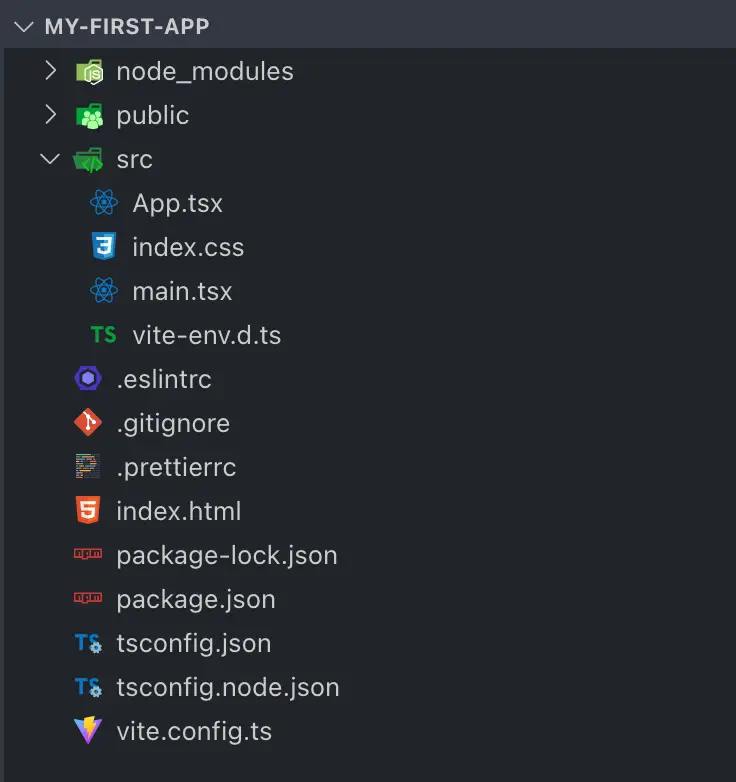
Here's what you will have in the end:
Conclusion
Vite is the easiest way to start your React frontend application at the moment.
Its default configuration is great for most cases, but its capabilities can be extended with plugins, for instance, if you're working with SVG images, you may want to import them as React components - vite-plugin-svgr can help you with that.
Vite, unlike create-react-app, doesn't come with ESLint configuration, so you will have to manually set it up, along with Prettier. Luckily, it's very simple, and I've provided a guide for that in this post.