Technical SEO Basics for React Developers
Here's a practical introduction to everything you need to know about SEO as a web developer.


Many developers, even experienced ones, don't know the first thing about search engine optimization (SEO). And for a long time, I didn't know either. SEO is mostly invisible, so it's easy to ignore, even though you shouldn't.
Google is often the most important source of traffic for businesses and as a developer, it's your job to take care of the technical side of SEO.
Every respectable web developer must know at least the basics of SEO.
Throughout my years of building web apps, I've learned a thing or two about making them rank well on Google, and I'm here to break it all down for you.
Here's a 12-step technical SEO checklist to go through before launching any website.
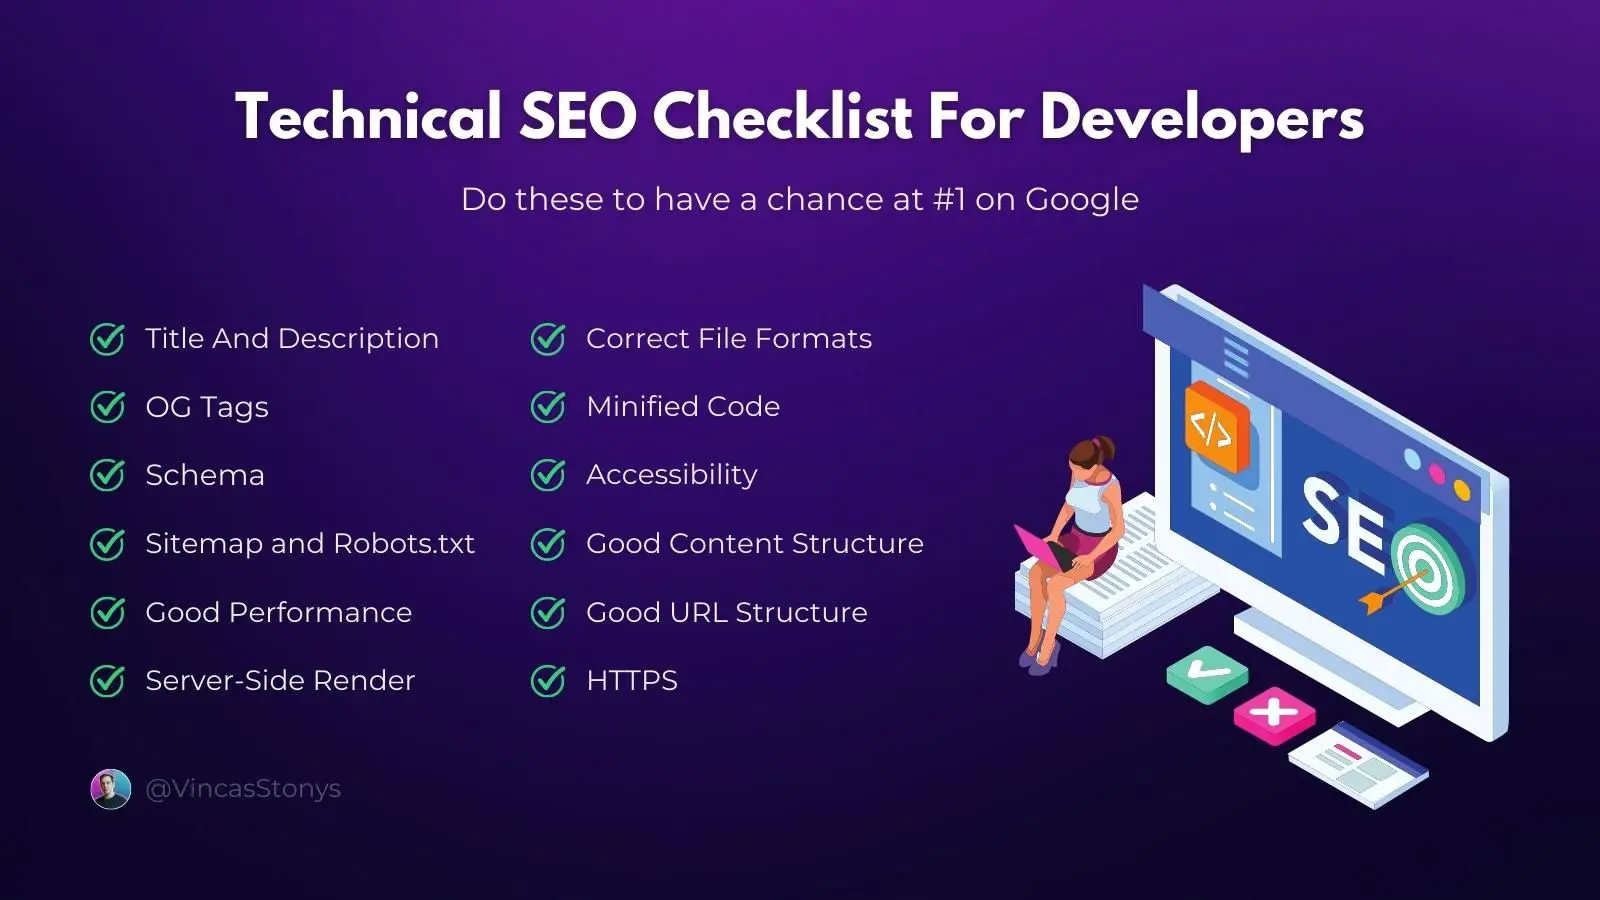
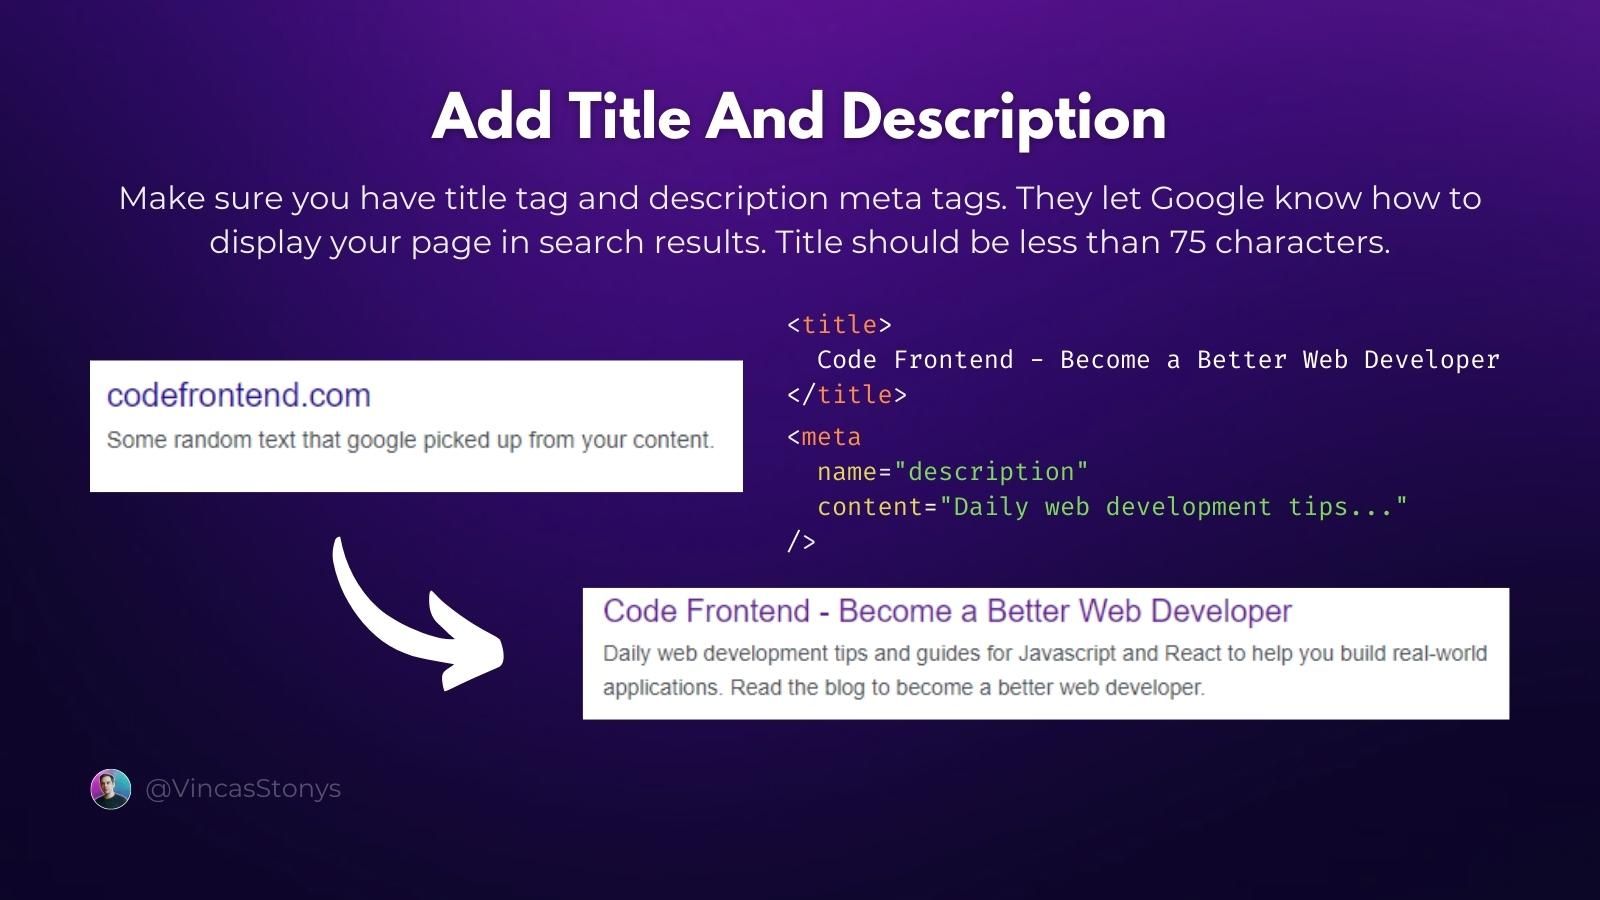
1) Add Title and Description
Title and description are the first things that the user is going to see in the search results.
Nobody will click your link if it says "React App", and if nobody clicks on your link, the click-through rate will drop, lowering your Google ranking. Needless to say, title and description are essential for SEO.
Fortunately, it's simple to add them:
- In your HTML file (usually
index.html) inside the<head>tag add a<title>tag with the title of your page. - Similarly, inside the
<head>add a<meta name="description" content="...">tag wherecontentis your page description.
Here's what it will look like:
<html>
  <head>
    <meta
      name="description"
      content="Daily web development tips and guides for JavaScript..."
    />
    <title>Code Frontend - Become a Better Web Developer</title>
  </head>
  <body>
    ...
  </body>
</html>The example above will set a global title for any page in your React app, but you might want to customize them for every page. In that case, I suggest you look into the react-helmet library.
Some recommendations:
- Make the title descriptive but under 75 characters, so it's not clipped. I recommend around 60 to be safe.
- Keep the description below 160 characters.
Ultimately, Google will decide what to show in the search results, so don't be surprised if it's different than what you provided. Google views it as a recommendation only.
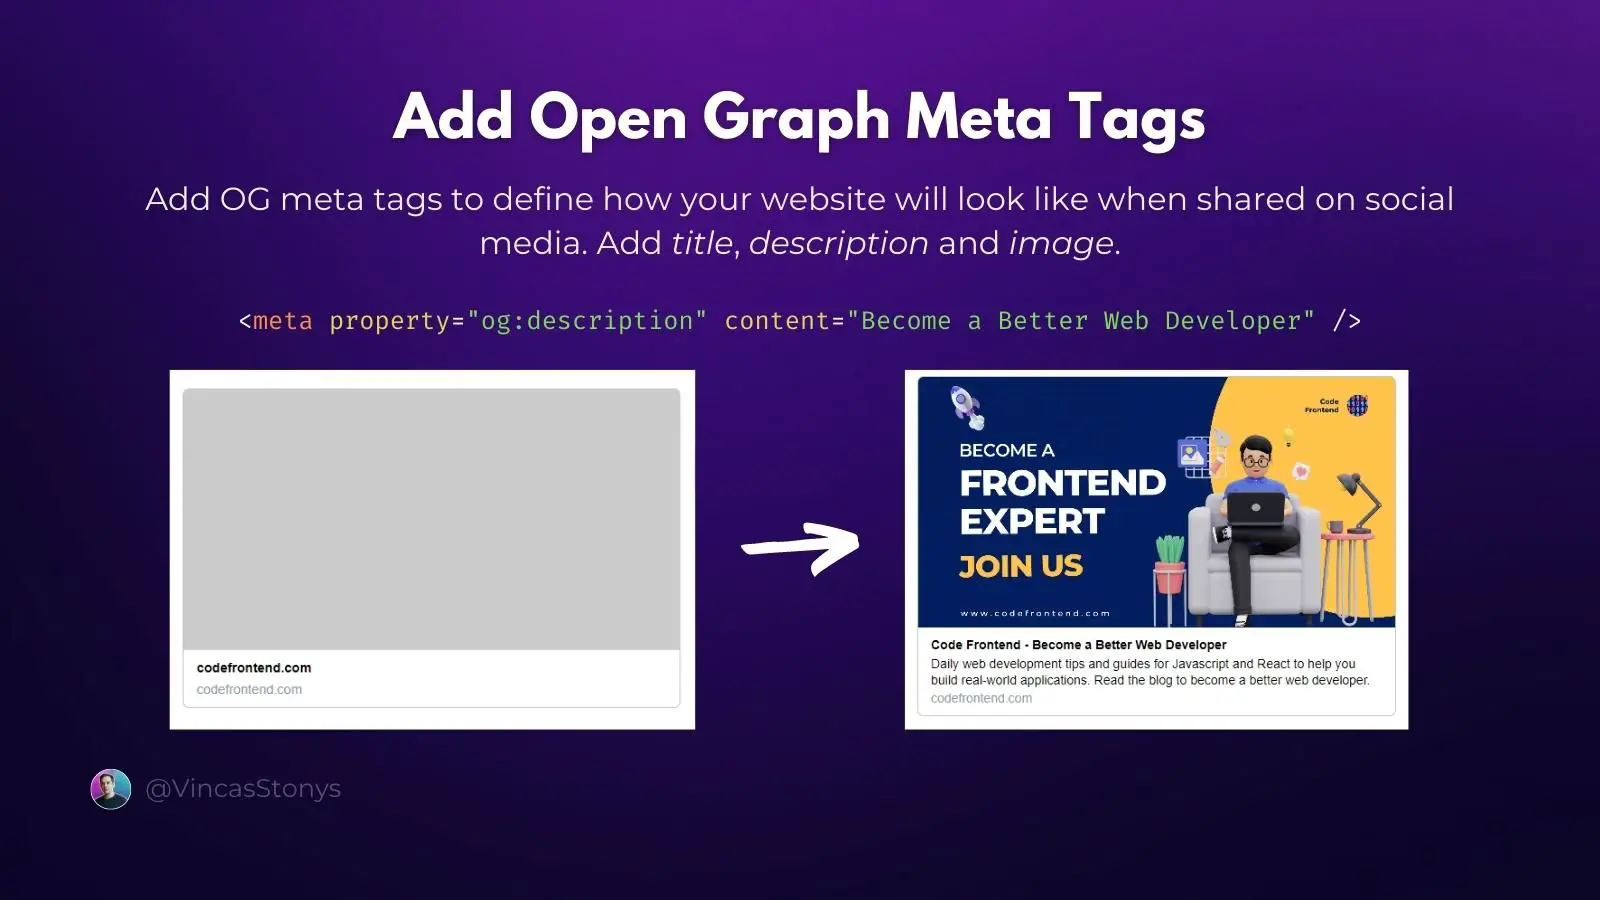
2) Add Open Graph Meta Tags
Even though OG tags won't impact your search results directly, they will impact the appearance of your links on social media, which can impact traffic and in turn your Google rankings.
Facebook, Twitter, or Linkedin, automatically add a title, image, and description when you share your site's links. You can preview them here: http://socialsharepreview.com.
That's what the OG meta tags let you customize.
Here's how to add them:
<html>
  <head>
    <meta property="og:title" content="Code Frontend - Become a Better Web Developer">
    <meta property="og:image" content="https://codefrontend.com/content/images/2022/07/code-frontend-social-image-1.png">
    <meta property="og:type" content="website">
    <meta property="og:url" content="https://codefrontend.com/">
  </head>
  ...
</html>Inside the <head> tag of your page add <meta> tags with the attributes property="og:<property>" and content="value". The necessary properties as outlined at https://ogp.me are:
og:title- the page title.og:type- pretty alwayswebsite.og:image- URL of the image for your website links.og:url- canonical URL. Usually, the link of your page unless it's a copy of another page, in which case put the link to the original.
3) Add Structured Data Markup
Recipe, review, and e-shop sites should all use structured data markup. It makes search results more detailed by attaching prices, ratings, and other metadata.
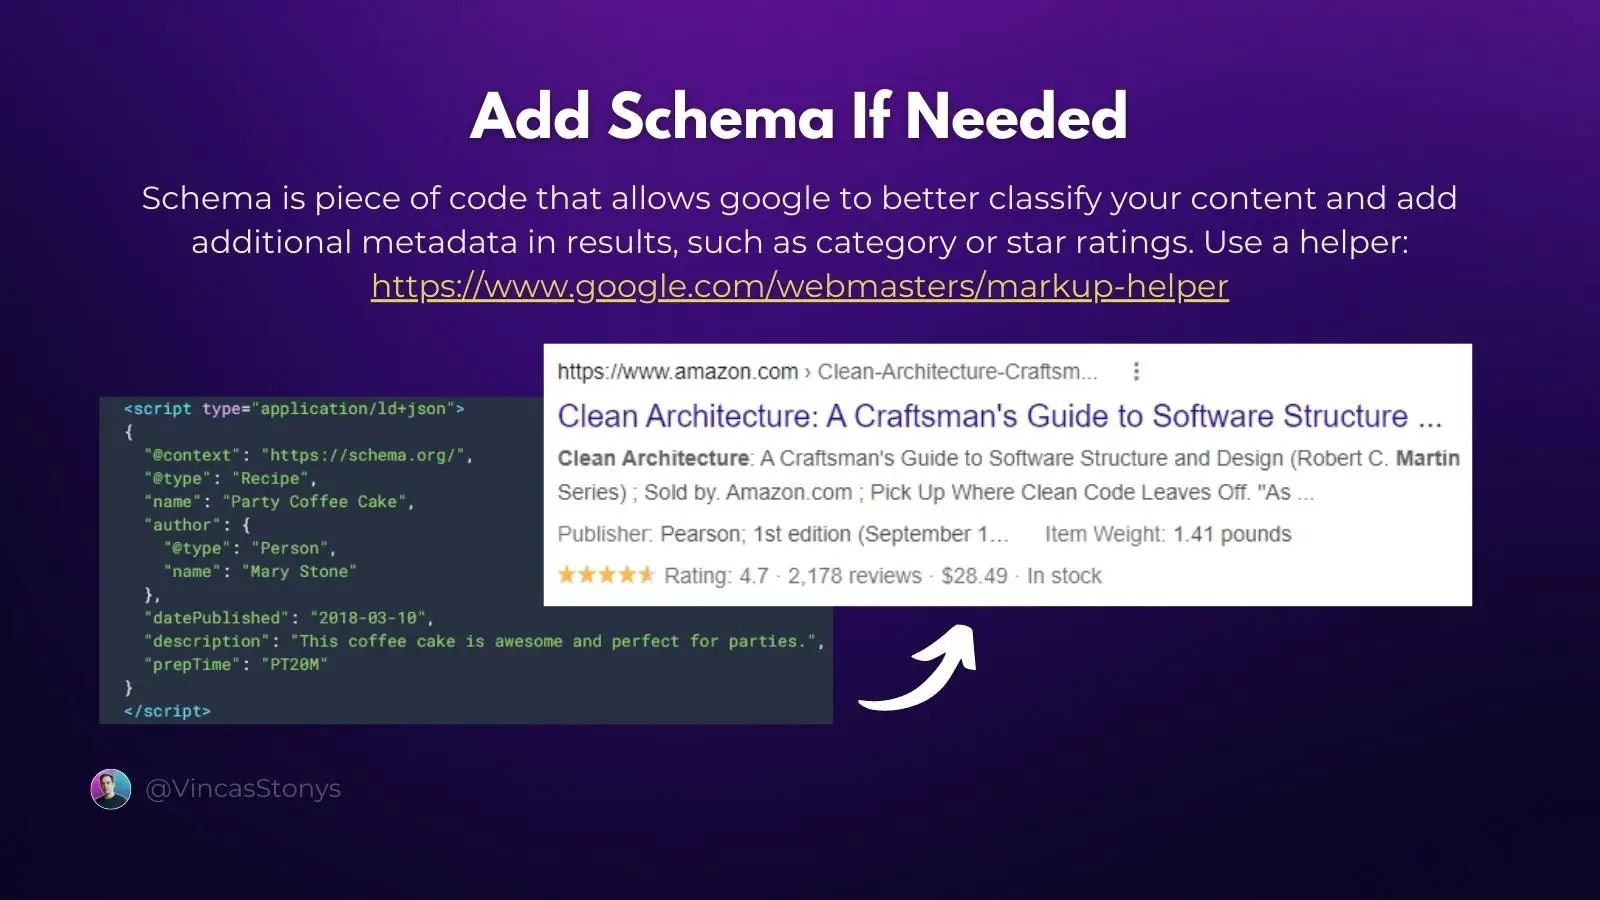
You don't need to write it by hand though, simply generate it at https://www.google.com/webmasters/markup-helper/u/0/ or dynamically with react-helmet.
The important bit is to wrap the schema with <script type="application/ld+json">. Here's what it might look like in React:
<Helmet>
  <script type="application/ld+json">
  {JSON.stringify({
    "@context": "https://schema.org/",
    "@type": "Recipe",
    "name": "Party Coffee Cake",
    "author": {
      "@type": "Person",
      "name": "Mary Stone"
    },
    "datePublished": "2018-03-10",
    "description": "This coffee cake is awesome and perfect for parties.",
    "prepTime": "PT20M"
  })}
  </script>
<Helmet>
For more information, I suggest you read the google docs: https://developers.google.com/search/docs/appearance/structured-data/intro-structured-data
4) Add Sitemap and Robots.txt
These files help google crawl your site more easily.
The sitemap lets Google know how to prioritize your links and Robots.txt allows you to block Google from visiting and indexing unimportant resources.
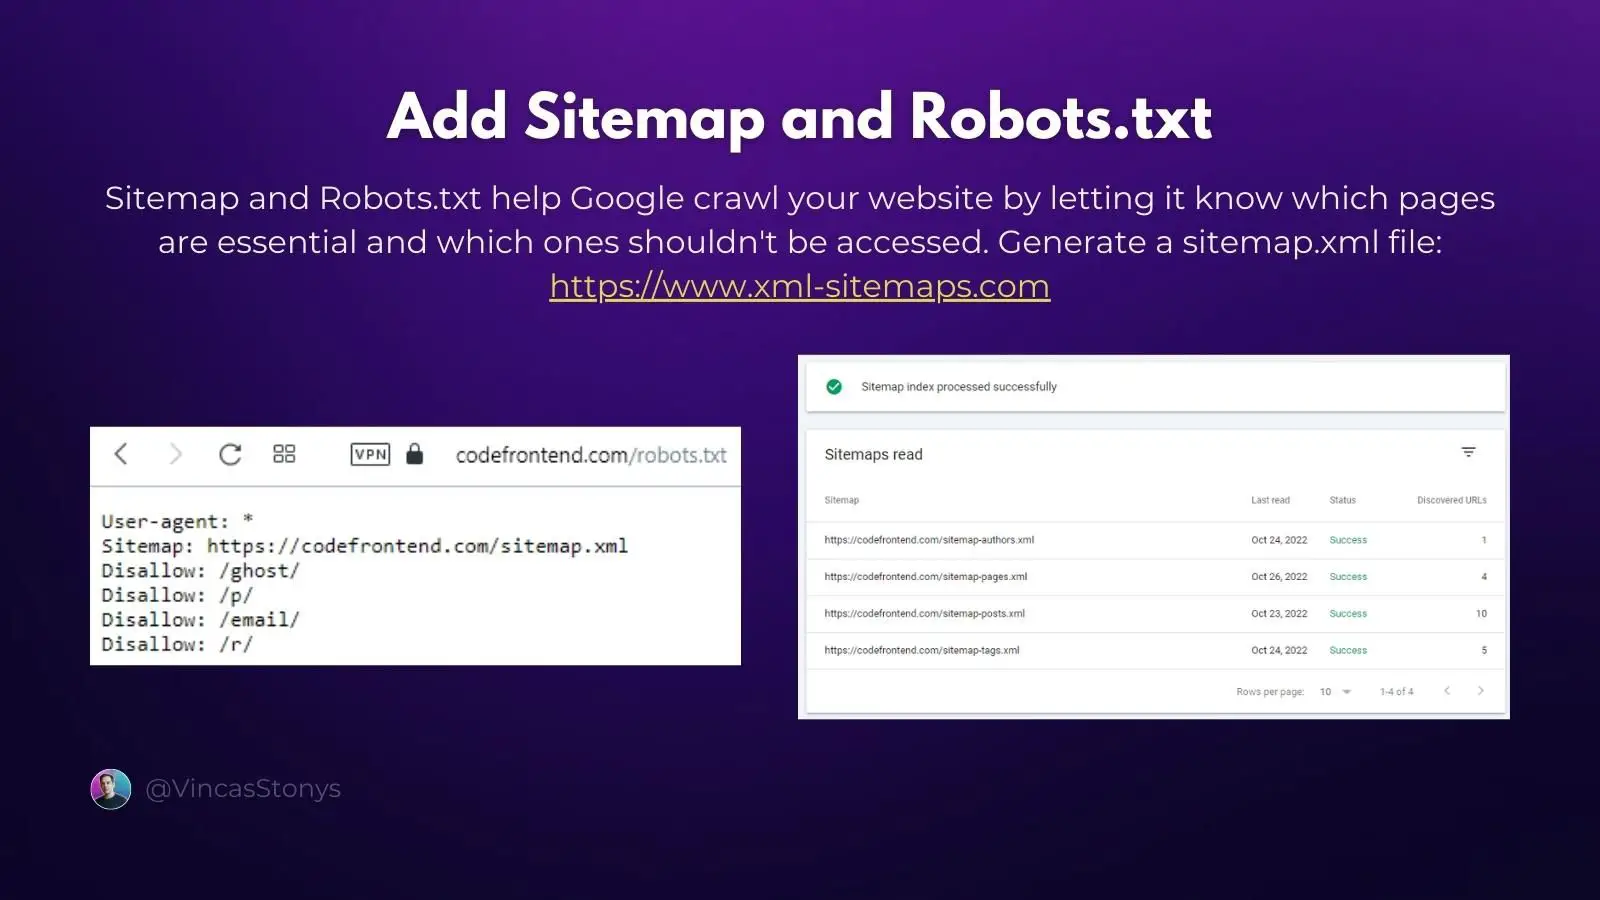
Robots.txt
Here's what the Robots.txt file looks like for this blog:
User-agent: *
Sitemap: https://codefrontend.com/sitemap.xml
Disallow: /ghost/
Disallow: /p/
Disallow: /email/
Disallow: /r/I don't want Google snooping around the admin panel of my blog, which is what the Robots.txt prevents with the Disallow rules. Available options are covered in Google docs:


Sitemap
The simplest version of a sitemap is just a text file with available URLs:
https://www.example.com/file1.html
https://www.example.com/file2.html
However, it's more common to use an XML version, because it allows adding some metadata, like lastmod - date of the last update, which is useful for blogs.
You can build the sitemap manually or generate it at https://www.xml-sitemaps.com. For a truly dynamic sitemap, you might need to create a server endpoint that generates it or generate it at build time.
Read more about sitemaps in Google docs: https://developers.google.com/search/docs/crawling-indexing/sitemaps/build-sitemap
5) Ensure Great Performance
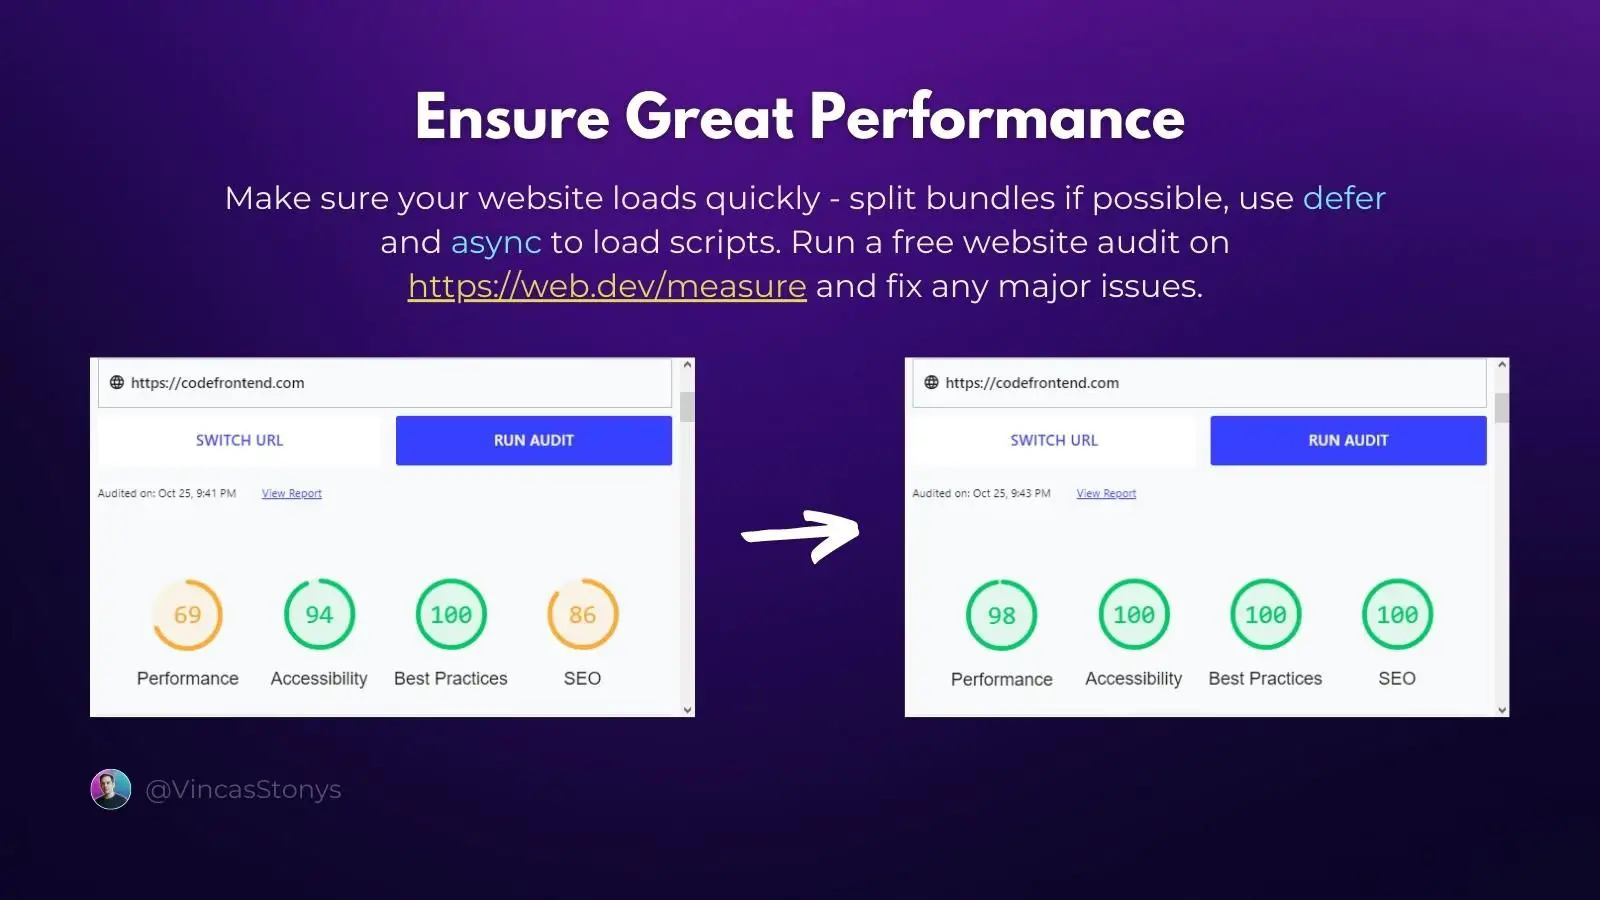
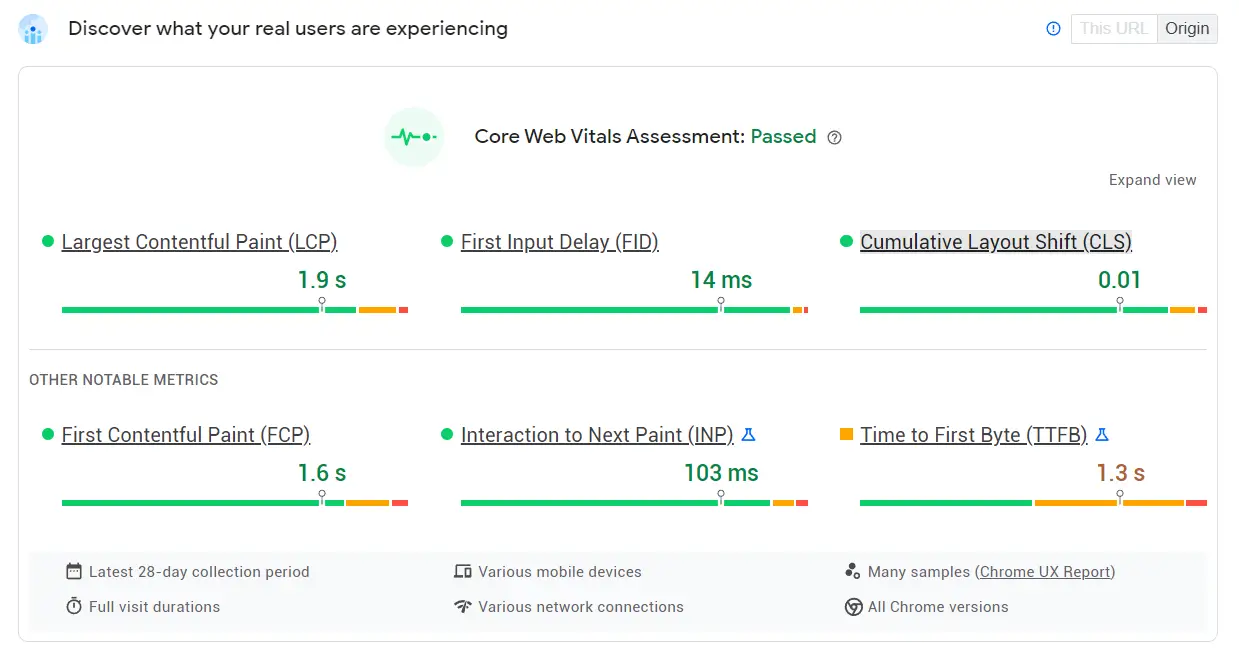
Google prefers websites with good loading speed and user experience.
Run an audit at https://web.dev/measure/ which will tell you what you should improve. Page load time is the most important factor to consider.
Here are some performance improvements you can do as a React developer:
- Code-splitting can improve initial page load times.
- Optimize images at build-time and lazy-load them at run-time.
- Use defer and async attributes for non-critical scripts.
- Pre-render your React code on the server.
- Google seems to like AMP.
A lot of these performance optimizations are handled out of the box if you're using a React framework like NextJS.
6) Server-Side Render
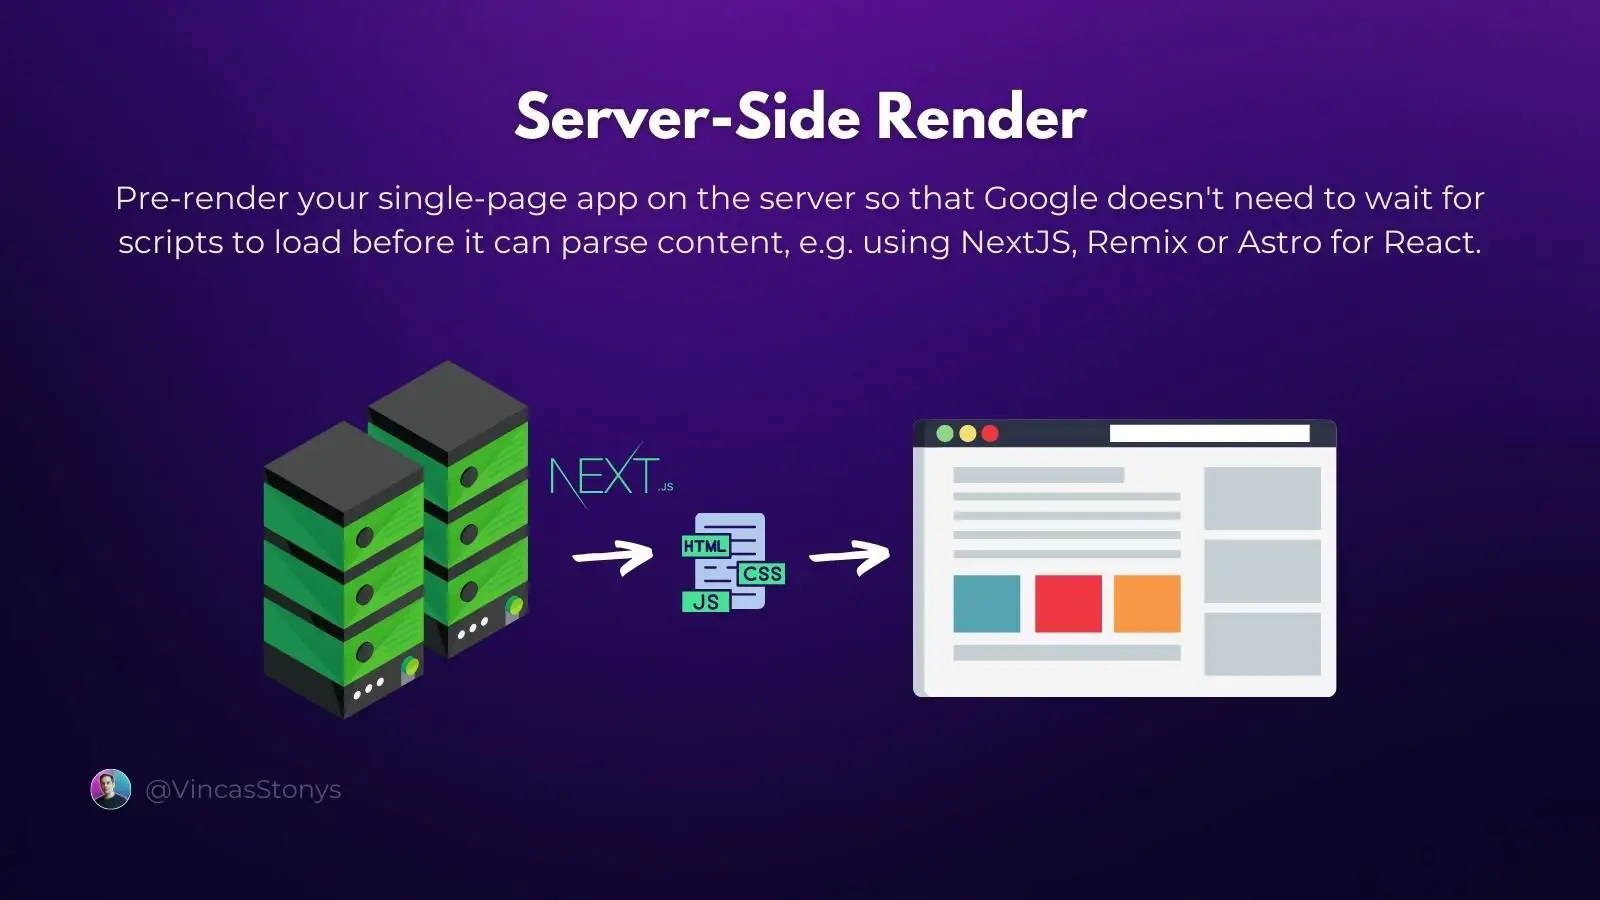
Single-page applications are notoriously bad for SEO because they send a blank HTML page initially and generate it on the browser using JavaScript.
<html lang="en">
  <head>
    <title>React App</title>
    <script type="module" crossorigin src="/assets/index.js"></script>
    <link rel="stylesheet" href="/assets/index.css">
  </head>
  <body>
    <noscript>You need to enable JavaScript to run this app.</noscript>
    <div id="root"></div>
  </body>
</html>Google needs to wait for the scripts to run before it can parse content. Needless to say - it's not perfect at it.
For many apps, this doesn't matter, but for content-heavy websites, you should pre-render your React code on the server, and then hydrate it on the client. It's tricky to implement on your own, and that's what frameworks like NextJS, Remix, or Astro can help you with.
7) Ensure Correct File Formats
Large images are often the main reason your website loads slowly.
PNG images are very large, often more than 10x larger than web-optimized formats such as JPEG or WEBP with no perceived difference. SVG images usually contain metadata that can be safely removed to significantly reduce the image size.
You can manually compress your images at convertio.co/png-jpg/ or configure your bundler to do that for you. NextJS even has a custom Image component that you should use.

Using SVGs
How images are used is also important.
For instance, you can add SVGs directly in your JSX, but that can significantly hurt page load times and performance because SVGs would be bundled together with your JavaScript code and can't be loaded asynchronously.
You should always prefer the <img> tag for images.
Responsive images
A great way to make sure images aren't slowing down your website is to use different image sizes for different screen sizes. For instance, you don't need a highly detailed image on mobile screens.
Normally, the src attribute on the <img> tag only allows a single resource, but you can provide srcset and sizes attributes to change the source based on the screen size.
<img
  srcset="image-480w.jpg 480w, image-800w.jpg 800w"
  sizes="(max-width: 600px) 480px, 800px"
  src="image-800w.jpg"
/>A detailed article on how responsive images work can be found here 👇


8) Minify Your Code
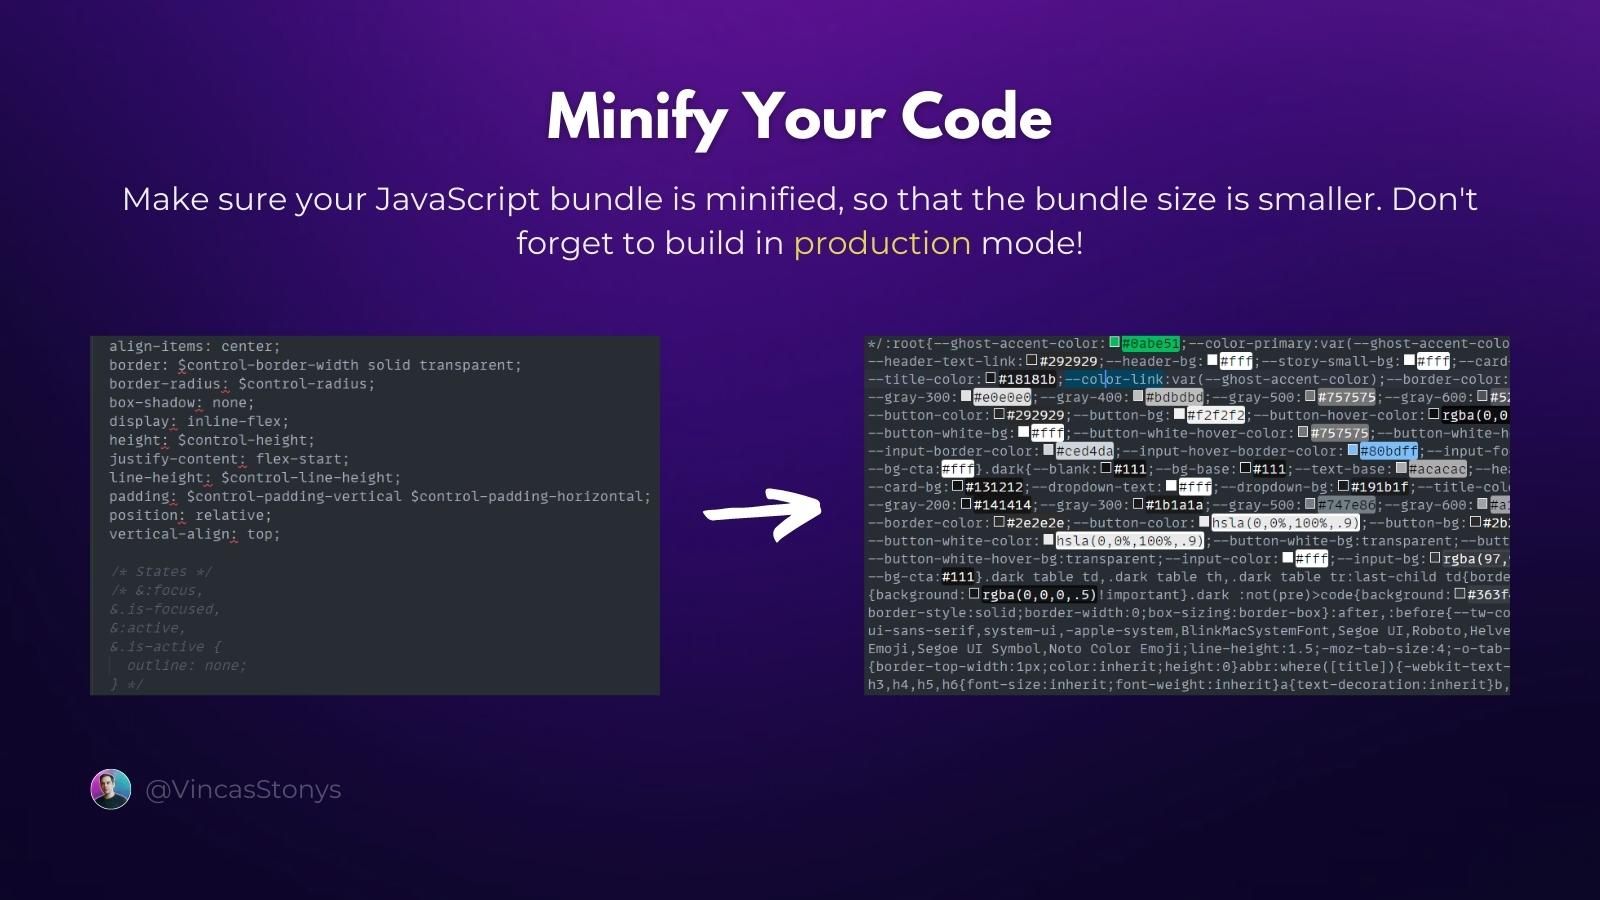
Minification significantly reduces the size of your code by removing spaces and replacing names with shorter alternatives. If you're using modern build tools like Vite, Parcel, or a framework like NextJS, this will be taken care of automatically.
In case you're maintaining your own Webpack configs or using plain JavaScript source files - make sure you minify your code.
9) Ensure Good Accessibility
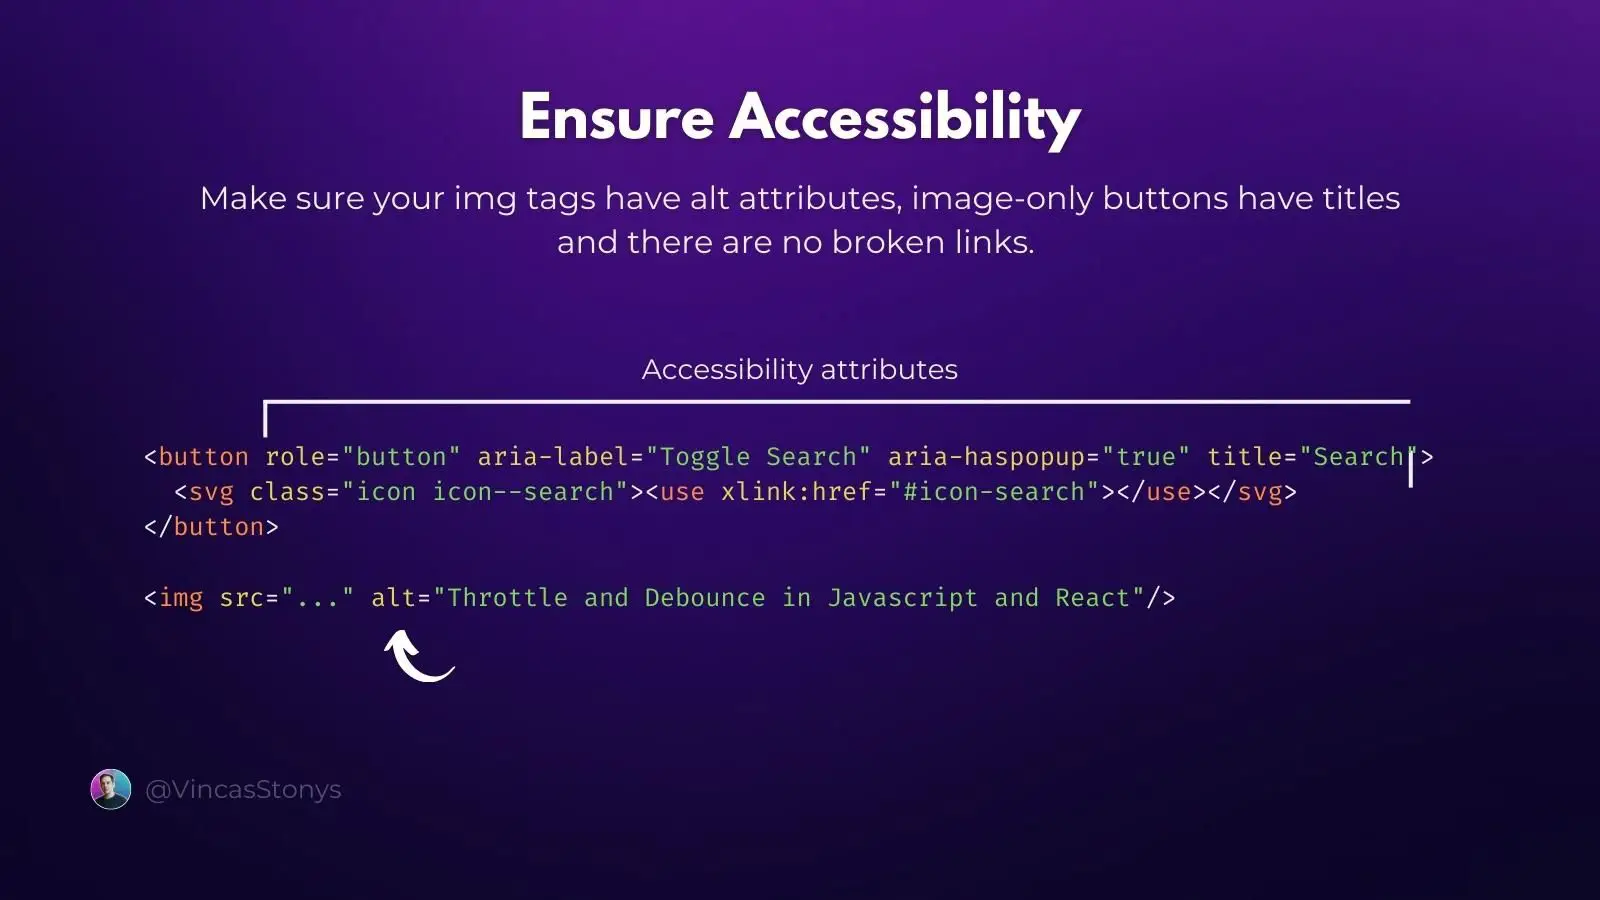
When you make your website accessible for mobile devices and screen readers, you naturally make it easier for Google to crawl and understand your content as well.
Accessibility is often invisible, it's things like:
altattribute on<img>tags.aria-labelattribute for image-only buttons.rolefor clickable non-button elements.<a>link tags instead of calls tohistory.push()for navigation.
Here's more about accessibility in React docs 👇
10) Ensure Good Content Structure
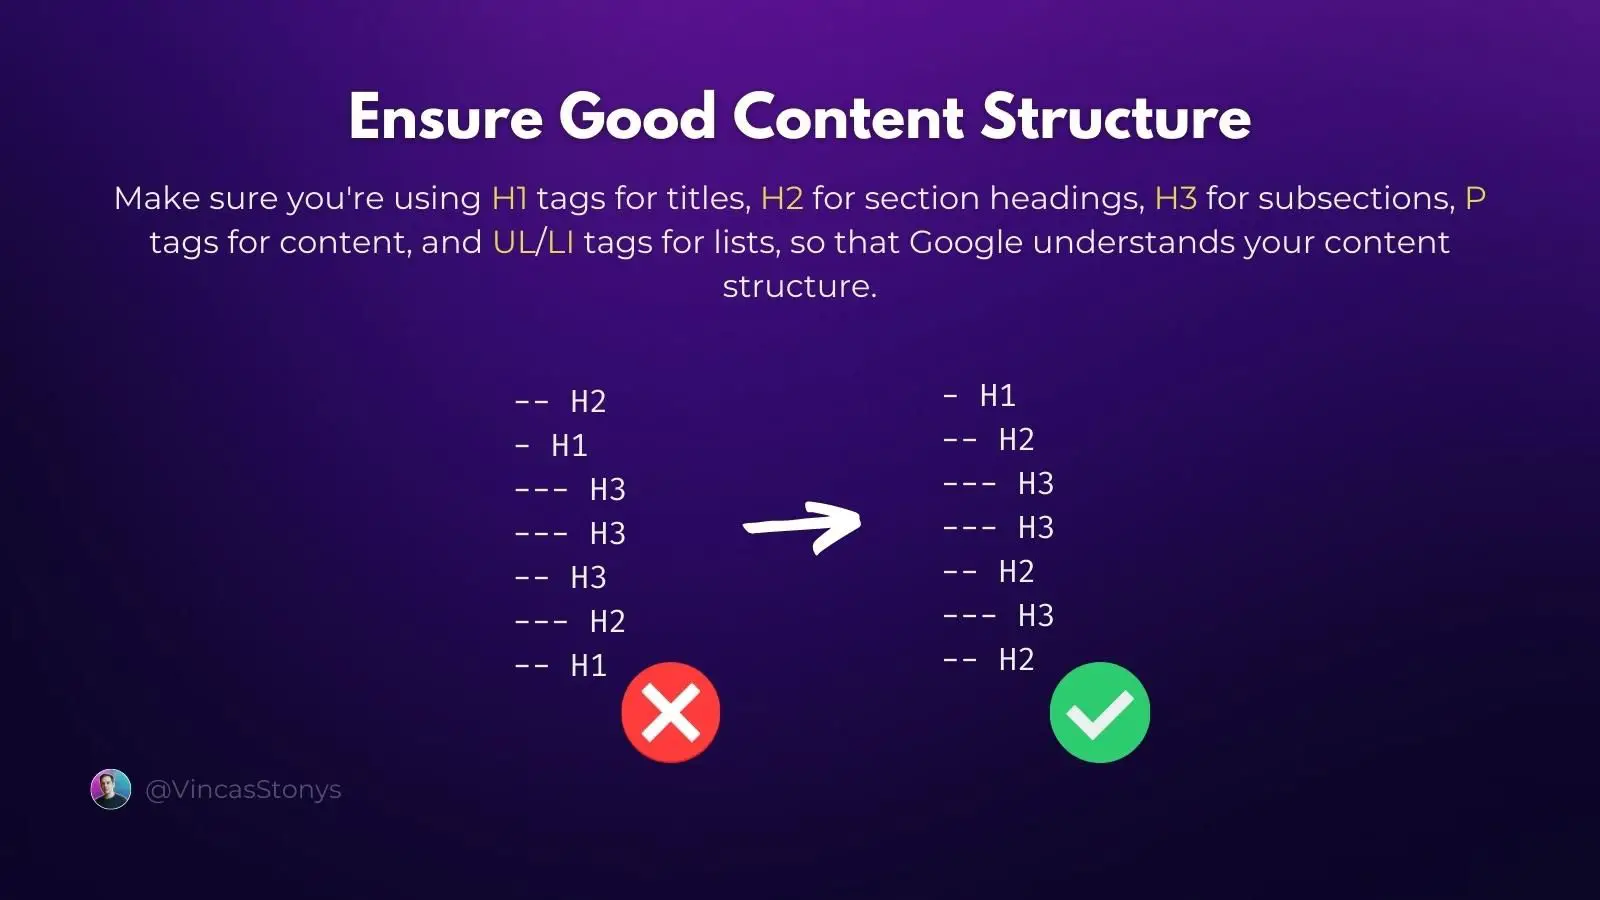
Using semantic tags and good content hierarchy will make it easier for Google to understand the meaning of your content. It can then display it as a list or FAQ, further improving your page ranking.
<div> tags and underutilizing semantic tags like <article>, <nav>, <p>, and others.Here are some tips:
- use HTML tags that make the most sense for your content;
- use heading tags in hierarchical order,
<h1>then<h2>, but not<h1>then<h3>.
11) Ensure Good URL Structure
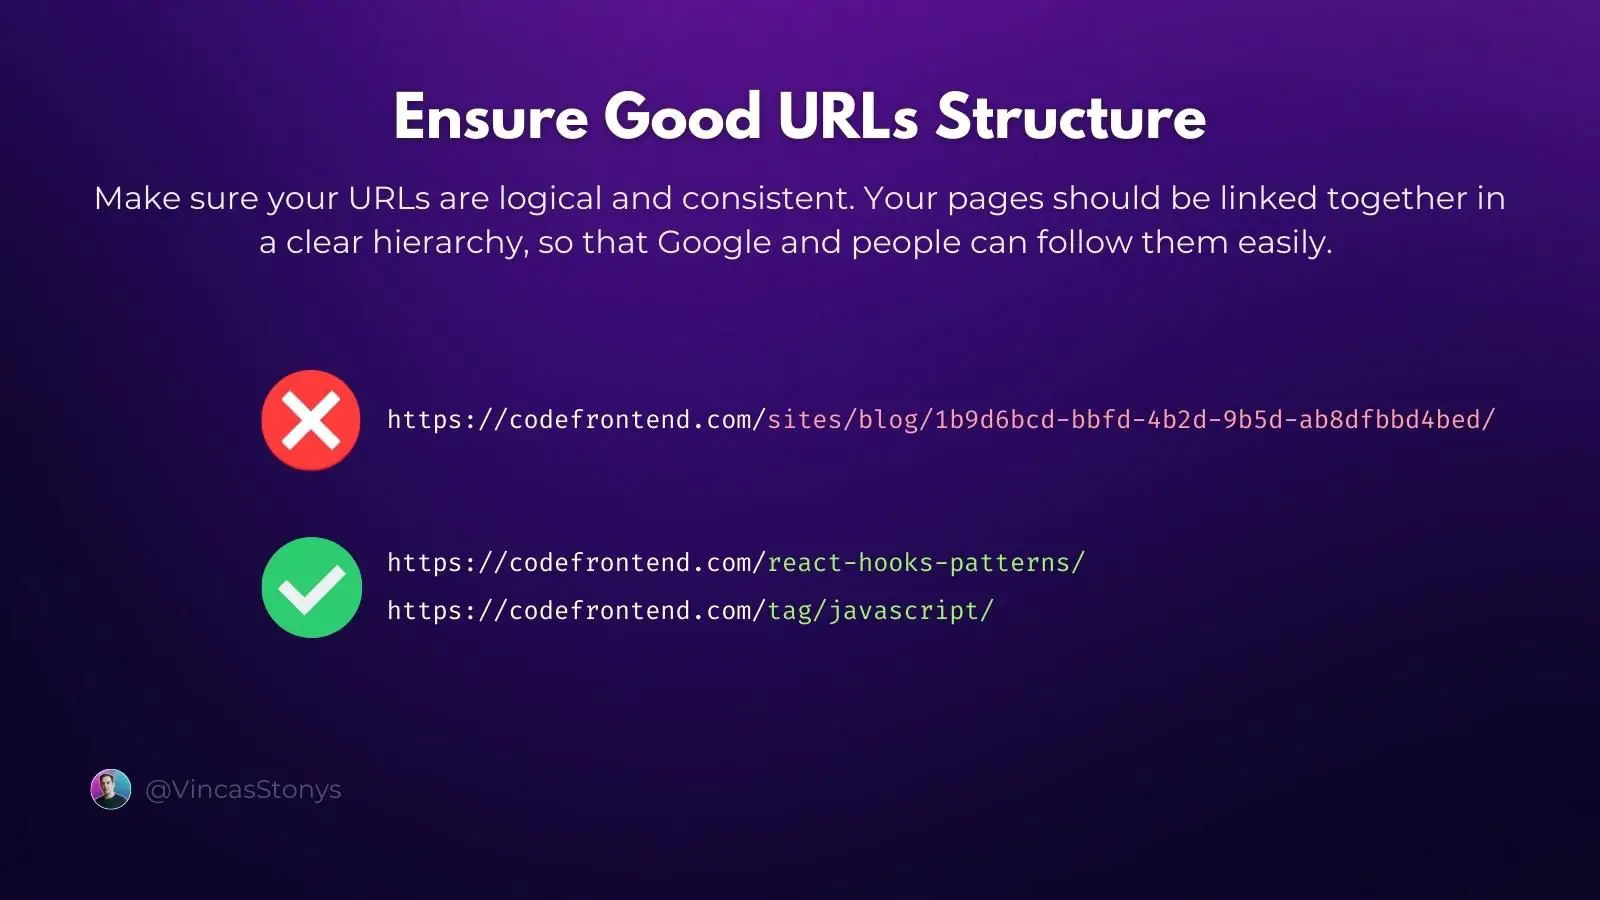
Google likes short, clear, but descriptive URLs that make sense based on your content.
Make sure your pages are linked together in a logical, hierarchical way. If it makes sense for people, Google will like it as well.
Make sure that:
- your URLs aren't too long;
- all duplicate pages have canonical links;
- every page can be accessed from the root URL;
- your URLs follow a tree-like hierarchy;
- the URLs include the main keywords based on the content.
Do not underestimate the importance of good URL structure. It can be the difference between getting #1 on Google or not even appearing on the 1st page of search results.
12) Use HTTPS
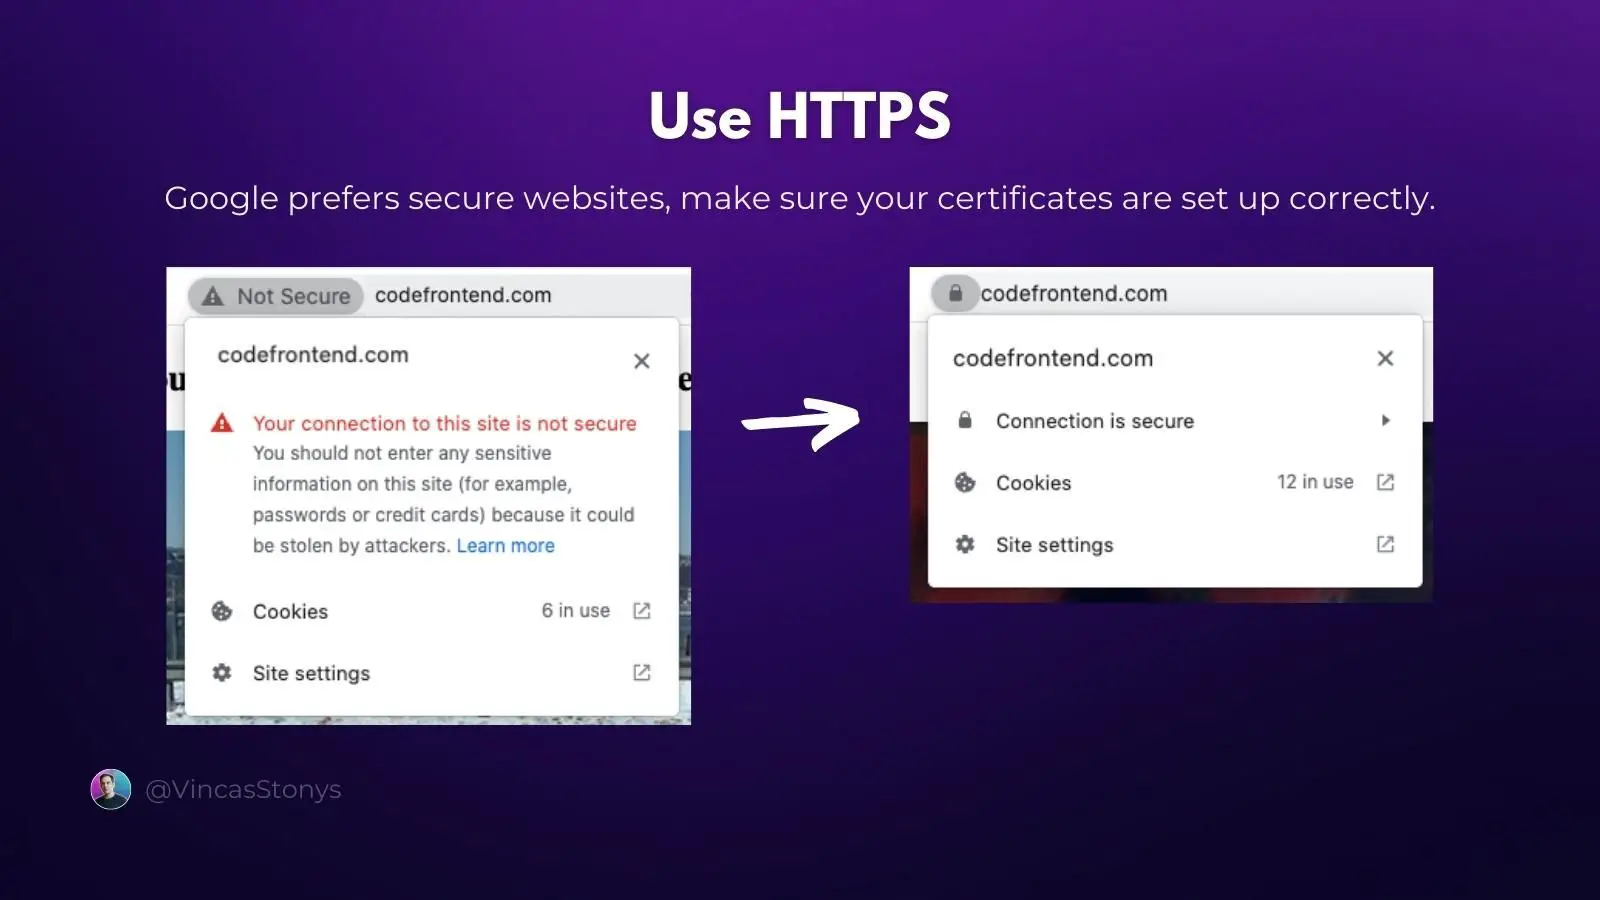
I can't help but be surprised how some websites in 2023 aren't using HTTPS. There is no reason not to - it's simple and free to do.
Any website, especially those that require login credentials, should use HTTPS - Cloudflare
The apps we build with React usually include gathering data from our users, so HTTPS is a no-brainer. Besides, Google will deprioritize your website if it's unsecured.
I use Cloudflare to get a certificate, manage my DNS records, and caching - all things beneficial for good SEO. I recommend you do the same.
Conclusion
As web developers, we need to know a lot more than just coding, and technical SEO is one of those things.
Fortunately, it's just a bunch of boring optimizations, but they boost your website performance significantly, resulting in better user experience and Google rankings.
Reference this 12-step checklist before launching a new website and you'll have taken care of the most common issues. Download the slides as a PDF here 👇
Let me know your SEO tips that could be helpful for React developers in the comments.